How to Make X Brace Angles and Half Laps
Farmhouse-style furniture has an identifying feature of having X brace ends. There are several approaches to building these but the first thing that needs to be done is to figure out what angles to use.
The proper way to make x brace angles for a woodworking project is to calculate the angle for each end of the x brace to fit in the space it will be placed in, as well as the angle of intersection where the boards cross each other. The calculation for angles can be achieved using mathematical formulas.
The easiest way to calculate the angles required on each x brace end as well as where they intersect is by using the Miter Angle Calculator app. The app offers 5 orientations of the x-end positions to choose from.

Below is an example of how the Miter Angle Calculator is used to get a perfect fitting X brace assembly built.
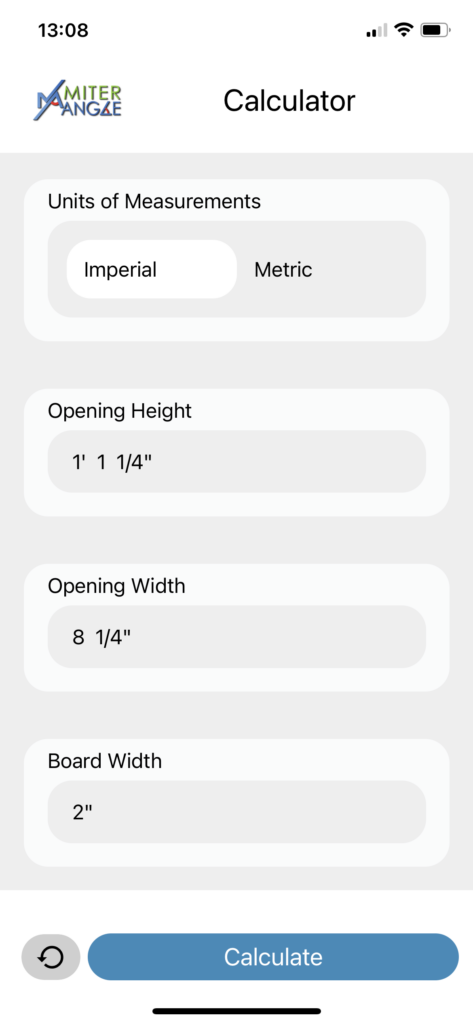
Step 1: Measure the height and width of the space to be filled, down to a 1/16th of an inch, or 1mm. (The app can calculate in imperial or metric measurements)

Step 2: Determine the width of the boards used in making the X brace. Again, down to 1 1/16th or 1mm.

Step 3: Open the Miter Angle Calculator and choose which orientation the X brace will have its ends positioned, which unit of measurement will be used, the width of the space, the height of the space, and the board width. Then press “calculate”.

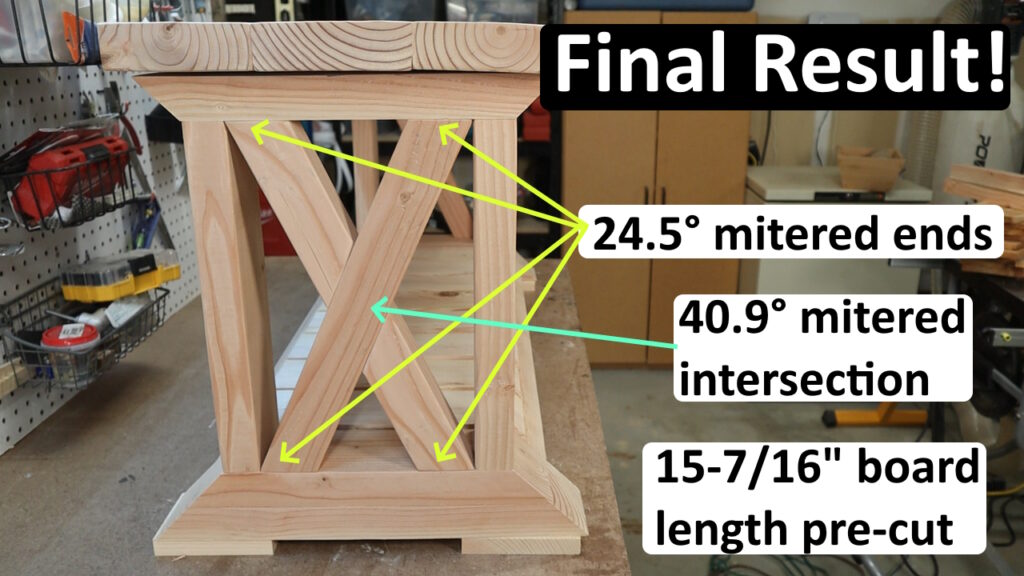
Step 4: The angles for each side of the ends and intersection are displayed as well as the length of the boards (pre-cuts). It is advised to use slightly longer boards in order to make repeated thin cuts down to a perfect fit.
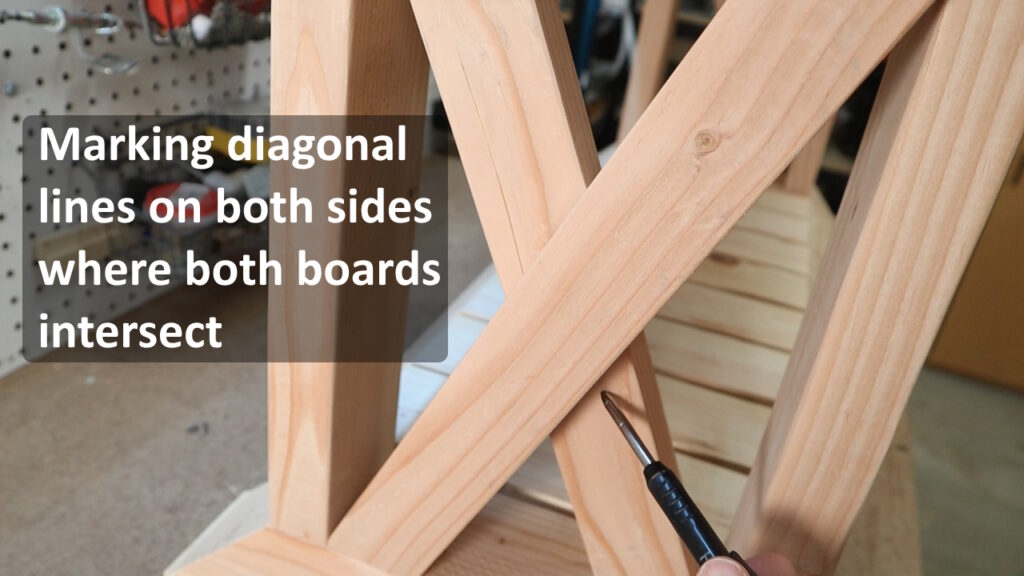
Step 5: Once the ends are cut to the proper angles and set in place, mark lines on both sides of the boards where they intersect. If your initial measurements were accurate these lines should line up with the miter saw blade after the saw is set to the angle given by the MIter Angle calculator.
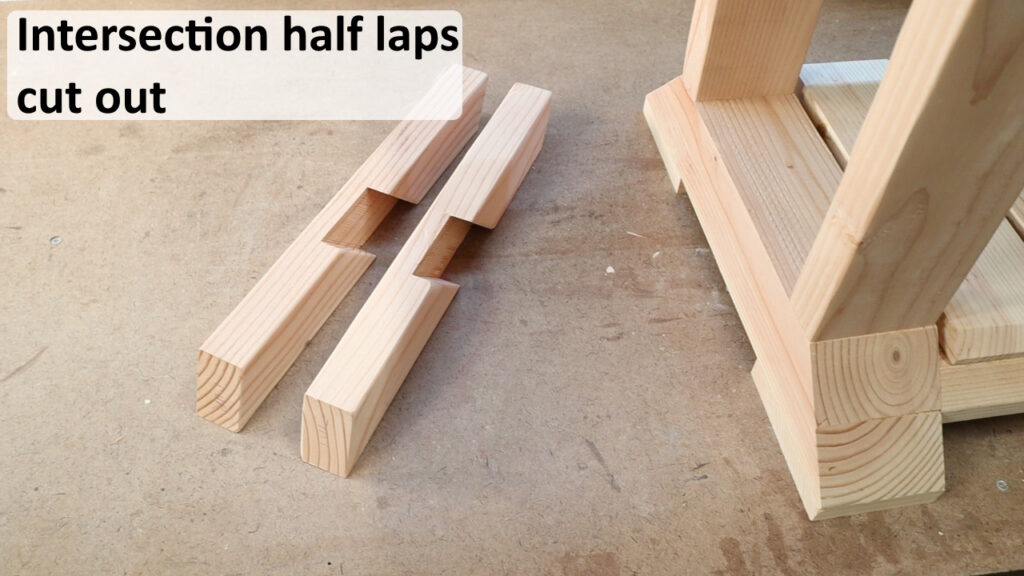
Step 6: Set the miter saw to only cut halfway down the board and make a series of thin cuts between the intersection markings. Once complete, the boards should slide together to create the X brace.

For a complete step-by-step guide to building perfect X braces watch the video below.